Migrating Home Assistant from SD card to SSD on a raspberry pi 4
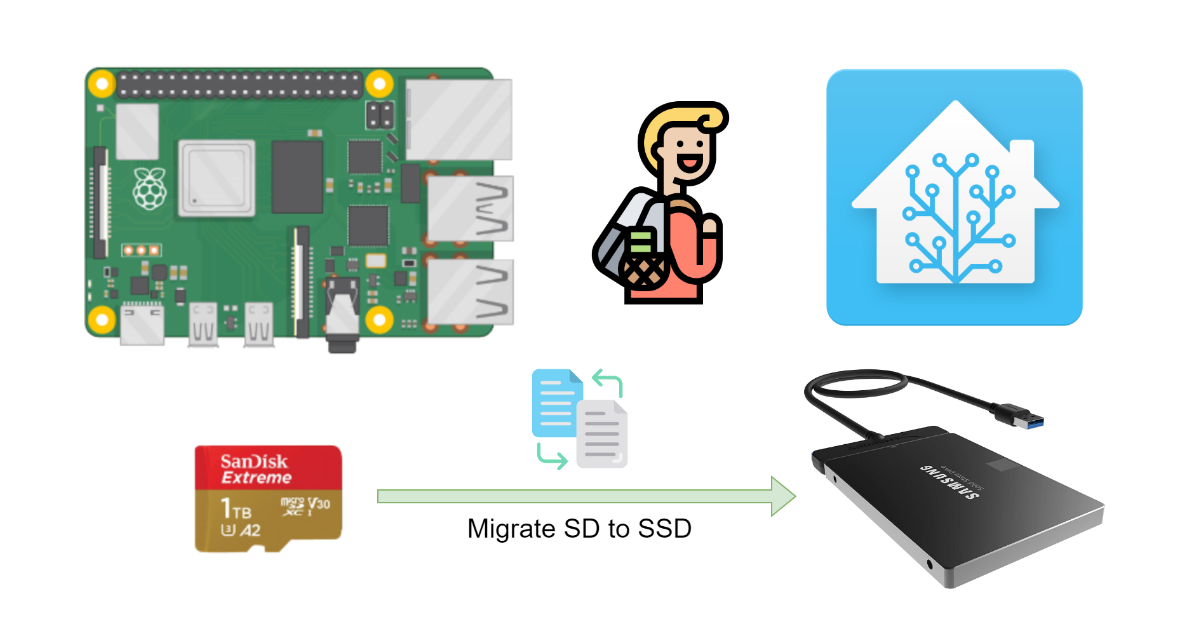
Moving an SD card install to SSD for Home Assistant on a raspberry pi 4
Steps to take
- Updating the Raspberry PI 4’s bootloader to the latest version
- Flashing Home Assistant Operating System to the SSD
- Making a complete system backup
- Removing the SD card from the PI
- Adding the SSD to the PI
- Rebooting the PI
- Restoring the backup
On this page
Before we start: Make sure you have a working adapter for your SSD to USB
Please visit James A. Chambers’s resource for a crowdsourced list of adapters that work!
Updating the bootloader from an SD card (no OS required) with the Raspberry Pi Imager
Making a full backup of home assistant
Head over to “Settings > System > Backups > Create Backup”


Flashing Home Assistant onto the SSD
Head over to home assistant and download the raspberry pi (64 bit) image

I suggest to browse to the URL and download the image directly as opposed to copy paste it into Belena Etcher
Head over to Belena Etcher and download your OS’s version, install & run it


Booting from the SSD & restoring a backup
Make sure your bootloader of the RPI is up to date! (my guide on how to do this here)
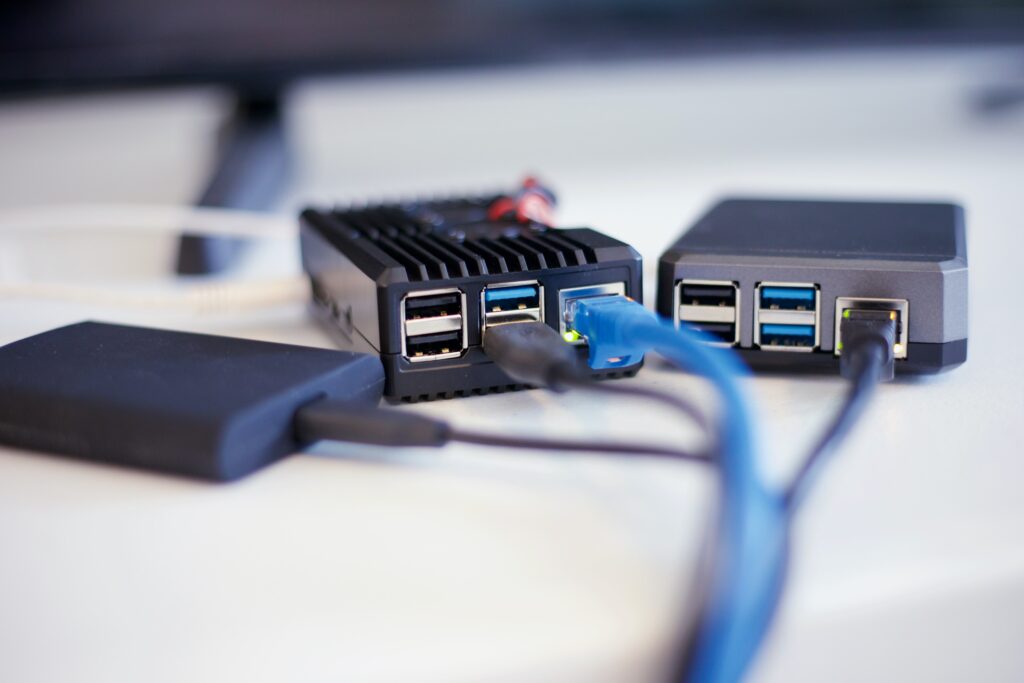
Plug in the SSD (pick the blue USB ports) they are USB 3 as opposed to USB 2.
Power up the PI and wait a couple of minutes for it to boot / unpack / install HassOS / Hass.io / Home Assistant Operating System
Connect to the fresh install of home assistant, depending on how you have it set up, in my case I have DHCP reservations on the MAC Address of my Raspberry Pi


It will restore the backup, reboot and come back online!
There we go! we migrated from an SD card to an SSD!

