Flashing a Creality 3 S1 pro with Klipper and use it with MainSails
I’ve recently acquired a Creality 3 S1 pro, with the intention of flashing it with Klipper
If this is the first time flashing a printer with klipper read me:
- Your attached display/controls probably won’t work (you will have to attach a (touch) display to your Pi and look at KlipperScreen
- Some Creality printers have odd SoC/CPU’s shipped, verify yours!
these are my notes.
On this page
Abstract of steps to take
- Flash raspberry with Mainsails
- Use Mainsails to compile the firmware
- Flash firmware to the printer
- Setup a printer.cfg config
Things to get
- Get a Creality 3 S1 pro
- Get a raspberry pi.
- Get a micro SD card. (for the raspberry)
- Get a USB A to USB C cable (to connect to the raspberry to the printer)
- an SD card (to flash the printer) [should come with the Creality]
Getting started with the raspberry


Head over to advanced options, we want to:
- Set a hostname
- Setup WiFi
- Setup SSH
- Set a password
Don’t change the username, MainSail needs “pi” as the username


Put the SD card in the Pi, and let it boot/set up.
Setting up mainsail
Browse to http://mainsail.local/

Let’s get our printer flashed with Klipper!
before mainsail can communicate with the 3D printer we need to flash Klipper firmware onto the machine (communication happens with a USB-A to USB-c cable on an S1 Pro)
SSH into the host with “pi” and the password you picked whilst flashing (default: raspberry)


this will launch the interactive GUI to config/compile the firmware
protip: check the config of your printer over at github, usually the comments up top give the config we need
the S1 (pro) config shows us this ( source file )
# This file contains pin mappings for the stock 2021 Creality Ender 3
# S1 & S1 Pro. To use this config, check the STM32 Chip on the
# Mainboard, during "make menuconfig" select accordingly either the
# STM32F103 with "28KiB bootloader" or the STM32F401 with
# "64KiB bootloader" and serial (on USART1 PA10/PA9) for both.

# For a direct serial connection, in "make menuconfig" select
# "Enable extra low-level configuration options" and  Serial
# (on USART2 PA3/PA2), which is on the 10 pin IDC cable used
# for the LCD module as follows: 3: Tx, 4: Rx, 9: GND, 10: VCC

# Flash this firmware by copying "out/klipper.bin" to a SD card and
# turning on the printer with the card inserted. The filename
# must be changed to "firmware.bin"

# With STM32F401, you might need to put "firmware.bin" in a
# folder on the SD card called "STM32F4_UPDATE" in order to flash.

# See docs/Config_Reference.md for a description of parameters.

Lets select the correct micro-controller first [2nd option], in case of the S1 Pro you pick STM32


Make sure to switch the bootloader to 64KiB

Set up the communication interface (going off comments in our config file)


it will take a small while


cp out/klipper.bin /home/pi/klipper_config/klipper.bin

on our SD card make a new folder named “STM32F4_UPDATE” and place your klipper.bin in there, make sure to date the file, as the printer can be picky about how the file is named.

Flashing the printer
- Turn the printer off
- Insert the SD card with our klipper firmware into the printer
- connect a USB-c cable to the USB port of the Raspberry Pi.
- turn the printer on, give it some time to flash
Preparing mainsail to communicate with the printer

check if your printer has an example config, copy the contents


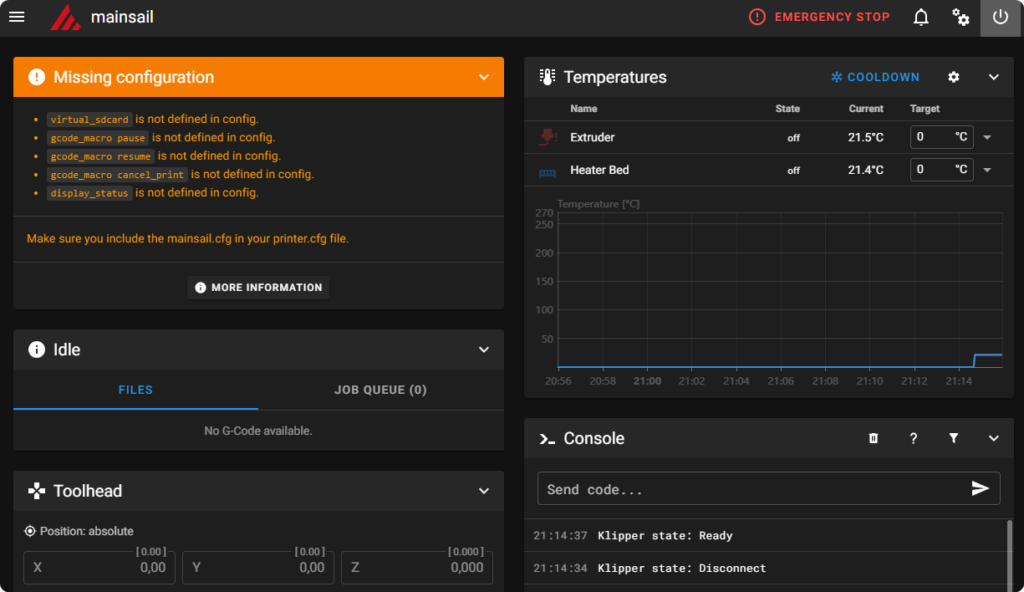
If the flash went well, and the printer is connected over USB cable, it should come online in mainsail


