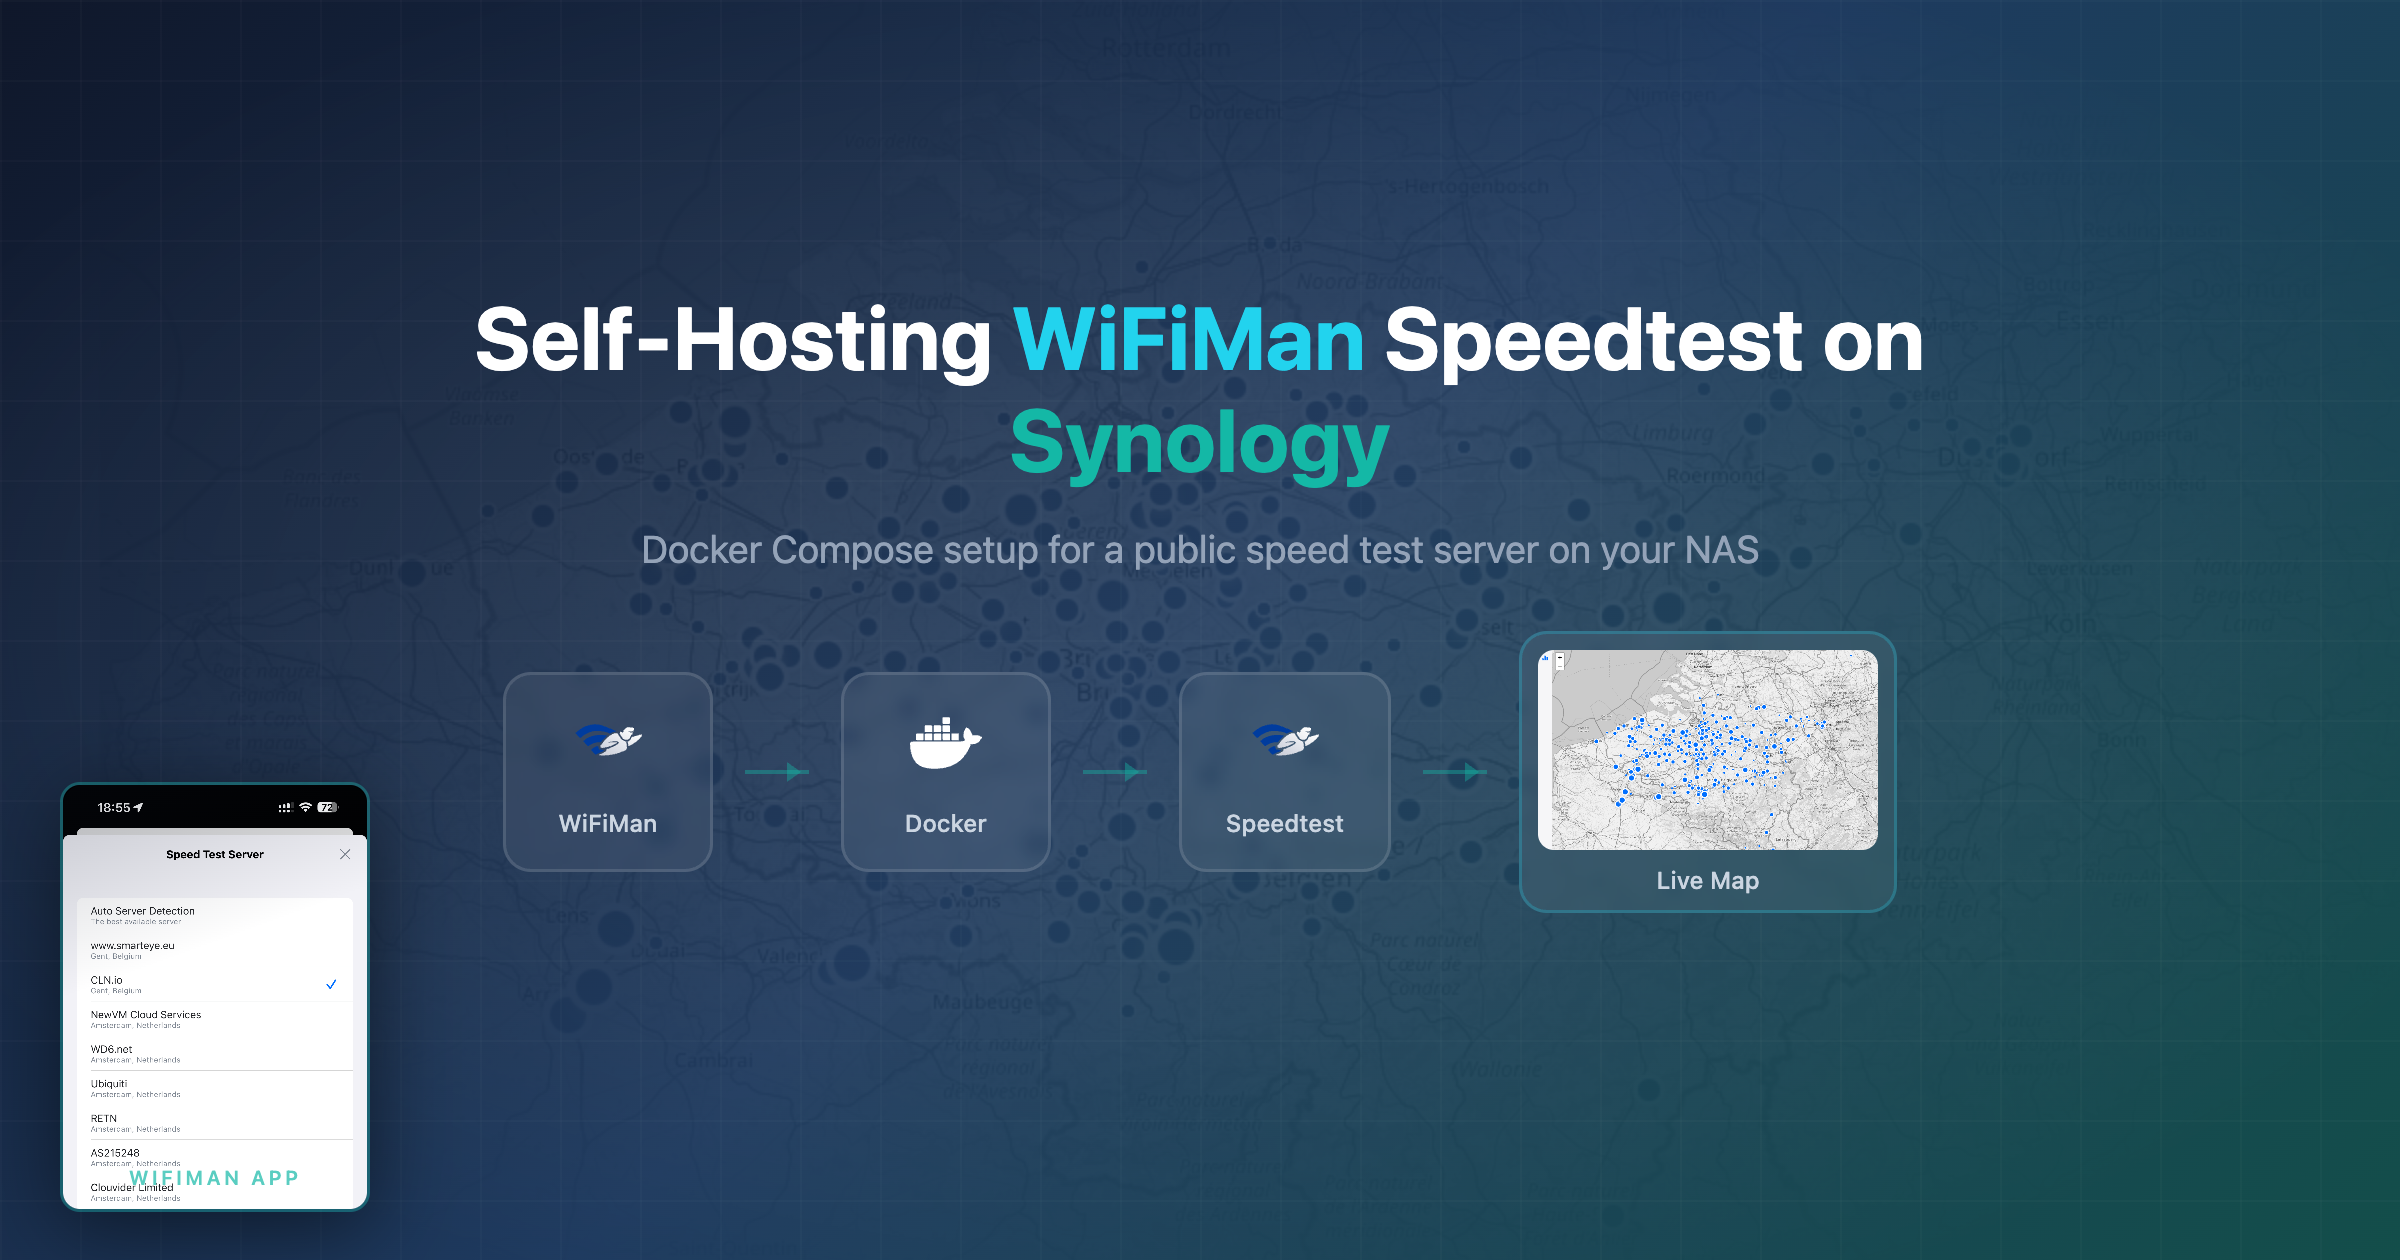
Self-Hosting WiFiMan Speedtest on Synology with Docker Compose
Ubiquiti’s WiFiMan lets you host your own public speed test server. The official install script works great on a standard Linux box, but on a Synology NAS you need a different approach.
Here’s how I set it up with Docker Compose on my Synology DS1823xs+, both via the command line and through Synology’s Container Manager UI.
The Problem with the Official Installer
The WiFiMan install script (curl -fsSL https://sp-dir.uwn.com/api/v1/install?t=YOUR_TOKEN > /tmp/speed_inst.sh && sudo bash /tmp/speed_inst.sh) is interactive and expects a standard Linux environment. On Synology DSM:
- The Docker socket is owned by
root:rootwith no docker group sudorequires special handling- Container Manager may or may not be running
- The script uses
docker rundirectly instead of Compose
Instead, let’s extract what the script does and set it up properly with Docker Compose.
Requirements
From wifiman.com/host, Ubiquiti lists these requirements for hosting a speed test server:
- Stable, full duplex 2+ Gbps internet connection for public hosting
- Static public IP address
- Low CPU capacity required
- Recommended: Linux server or VM with Ubuntu 20.04 and Docker
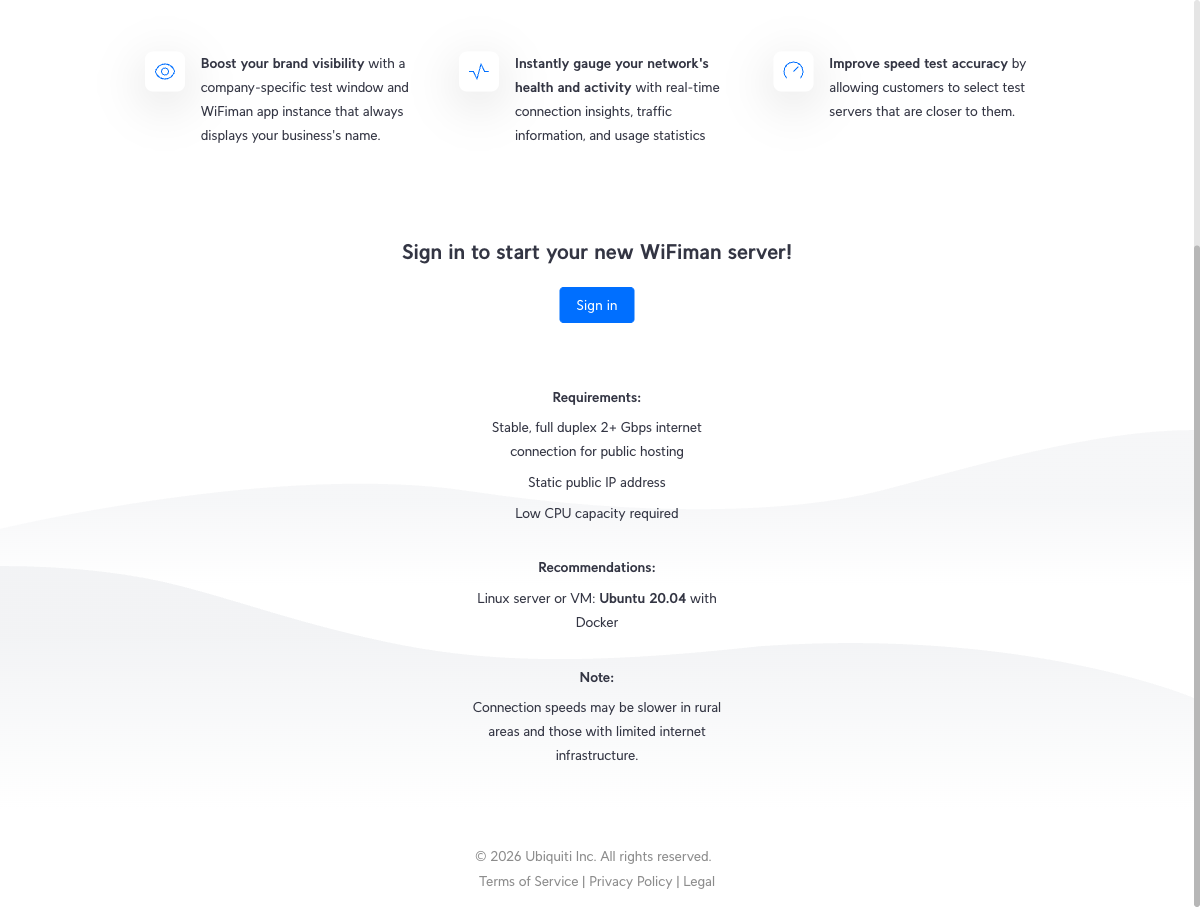
The static IP requirement is important – the API key is tied to the IP you register with, so dynamic IPs won’t work. For the Synology setup specifically, you’ll also need:
- Container Manager installed from Package Center
- Port 8080 forwarded from your router to your Synology’s LAN IP
Getting Your Installation Token
Before you can register a speed test server, you need an installation token from Ubiquiti:
- Go to console.wifiman.com and sign in with your Ubiquiti account
- Click Add Server (top-right corner)
- A dialog appears with the install command. The
t=parameter in the URL is your installation token — copy it
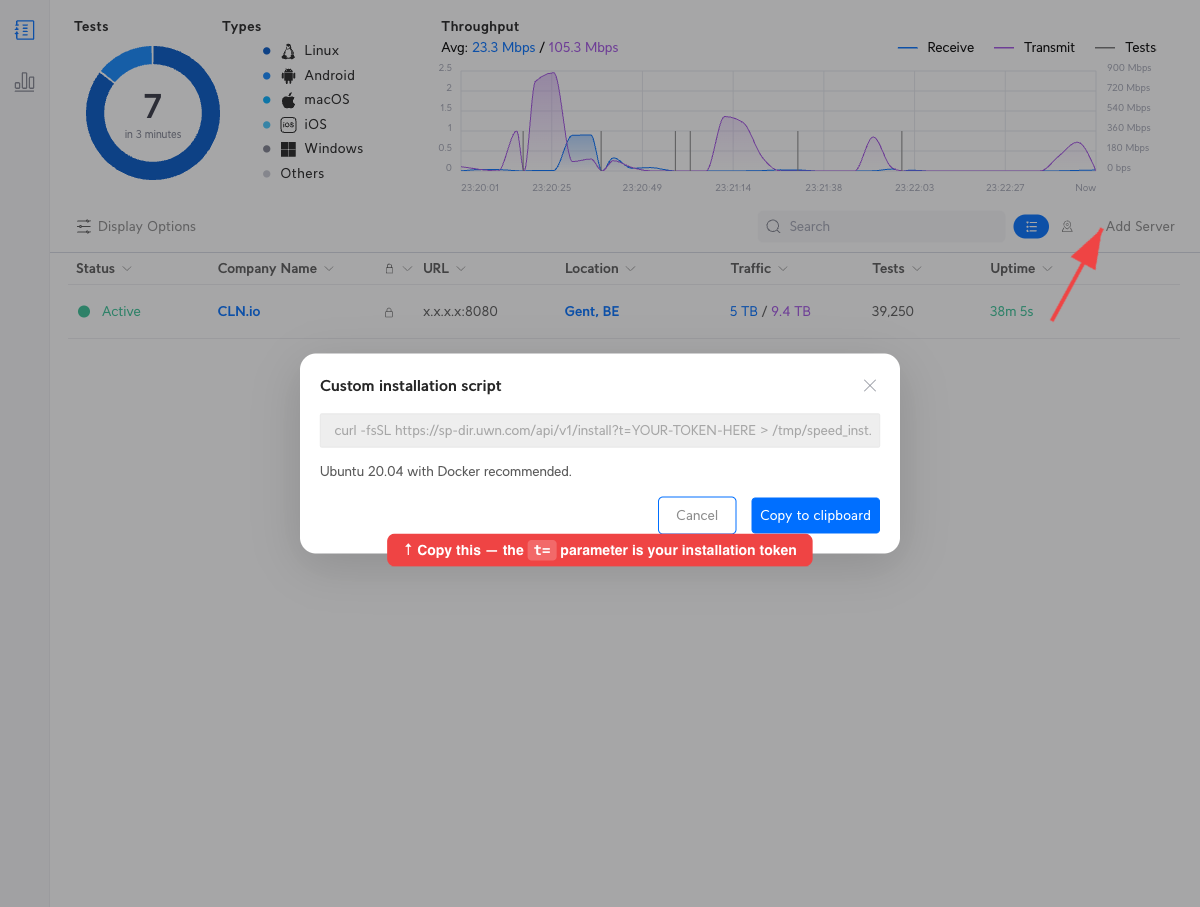
You don’t need to run their install script. We just need the token to register via the API ourselves.
How the WiFiMan Registration Works
The install script does three things:
- Validates your server IP and port with the directory server
- Registers to get an API key
- Starts the
ubnt/speedtestDocker container with that key
The registration API is straightforward:
# Get your public IP
curl -s https://sp-dir.uwn.com/api/v1/ip | jq -r '.ip'

# Register (returns apiKey and serverId)
curl -s -X POST \
  -H "x-auth-token: YOUR_INSTALLATION_TOKEN" \
  -H "Accept: text/plain" \
  -F "ip=YOUR_PUBLIC_IP" \
  -F "port=8080" \
  https://sp-dir.uwn.com/api/v1/install
The Docker Compose File
After registering and getting your API key, create compose.yaml:
services:
  speedtest:
    image: ubnt/speedtest
    container_name: ubnt-speedtest
    network_mode: host
    environment:
      - API_KEY=YOUR_API_KEY_HERE
      - PORT=8080
      - DIRECTORY_SERVER_URL=wss://sp-dir.uwn.com/connect
    labels:
      - "com.centurylinklabs.watchtower.enable=true"
    restart: unless-stopped

  watchtower:
    image: v2tec/watchtower
    container_name: ubnt-speedtest-watchtower
    volumes:
      - /var/run/docker.sock:/var/run/docker.sock
    command: --label-enable --cleanup
    restart: unless-stopped
Key details:
network_mode: host– The official script uses host networking with aPORToverride. The container’s internal default port is 8050, but we set it to 8080.- Watchtower – Auto-updates the speedtest container when Ubiquiti releases new versions. The
--label-enableflag means it only watches containers with the watchtower label.
Option 1: Deploy via Container Manager UI
If you prefer using Synology’s web UI instead of SSH:
- Open Container Manager from the DSM desktop
- Go to Project in the left sidebar
- Click Create
- Set the Project name to
wifiman - Set the Path to
/volume2/docker/compose/wifiman(or wherever you keep your compose projects) - Paste the
compose.yamlcontents above into the YAML editor, replacingYOUR_API_KEY_HEREwith your actual API key - Click Next, review the summary, then click Done
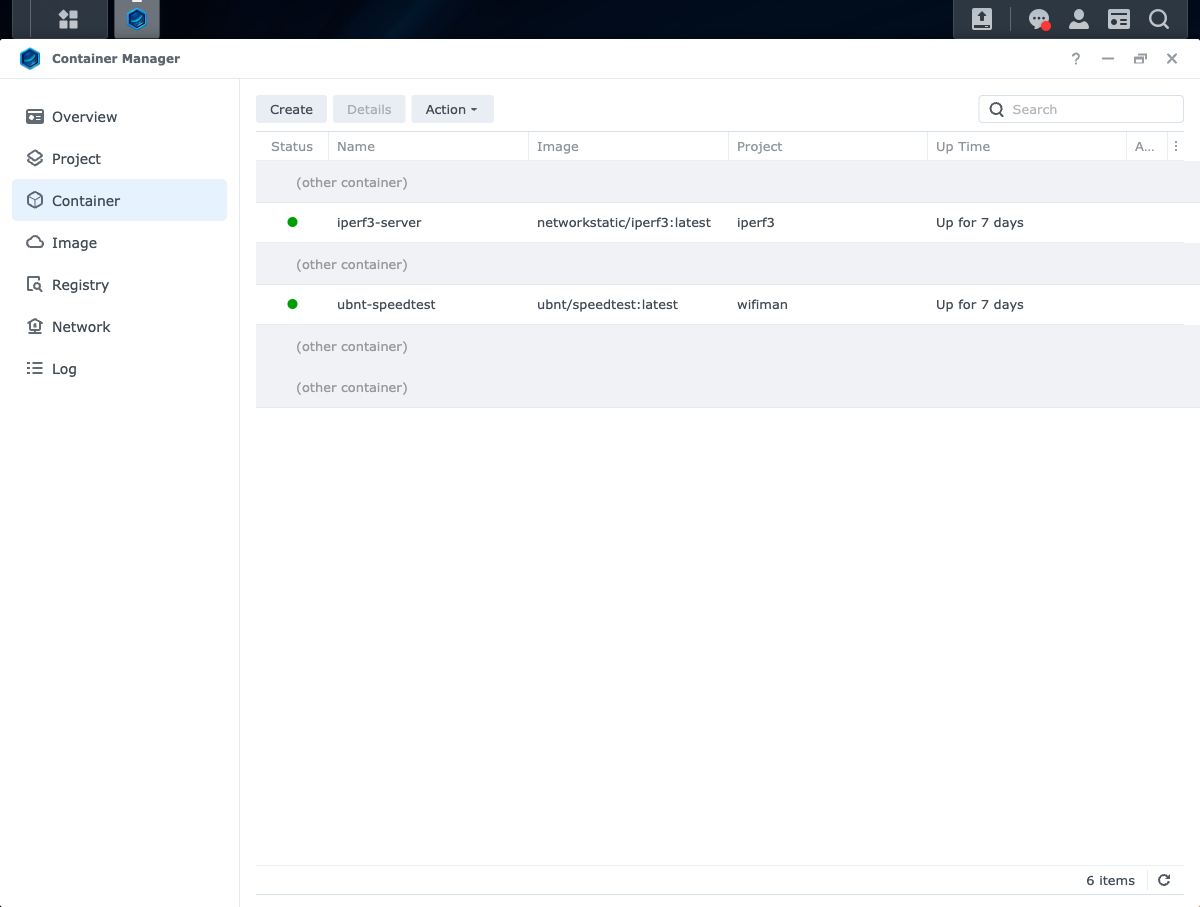
Container Manager will pull the images and start the containers. You can monitor the project from the Project tab:
If you ever need to update the API key or change settings, go to the project, click Action → Stop, edit the YAML under the YAML Configurations tab, then Action → Build to rebuild and start the containers with the new configuration.
Option 2: Deploy via Command Line
If you prefer SSH, create the compose file and start it directly:
# Create the project directory
mkdir -p /volume2/docker/compose/wifiman

# Create compose.yaml (paste the YAML above)
vi /volume2/docker/compose/wifiman/compose.yaml

# Start it
sudo docker compose -f /volume2/docker/compose/wifiman/compose.yaml up -d
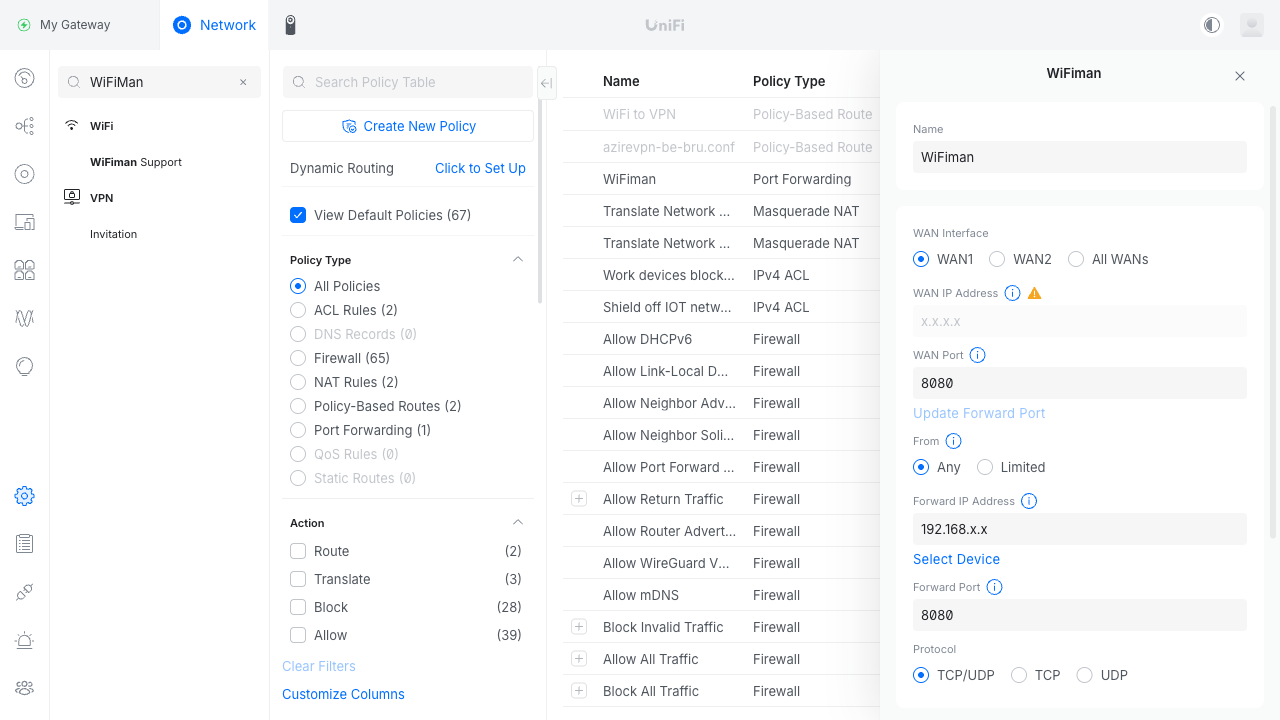
Port Forwarding
The speedtest server needs to be publicly accessible. On my UniFi gateway (UCG Fiber), I added a port forwarding rule: WAN port 8080 (TCP/UDP) forwarding to the Synology’s LAN IP on port 8080.
You can verify it’s working by hitting the diagnostics endpoint:
curl http://YOUR_PUBLIC_IP:8080/diagnostics
# {"connected":true,"error":null,"version":"1.4.2",...}
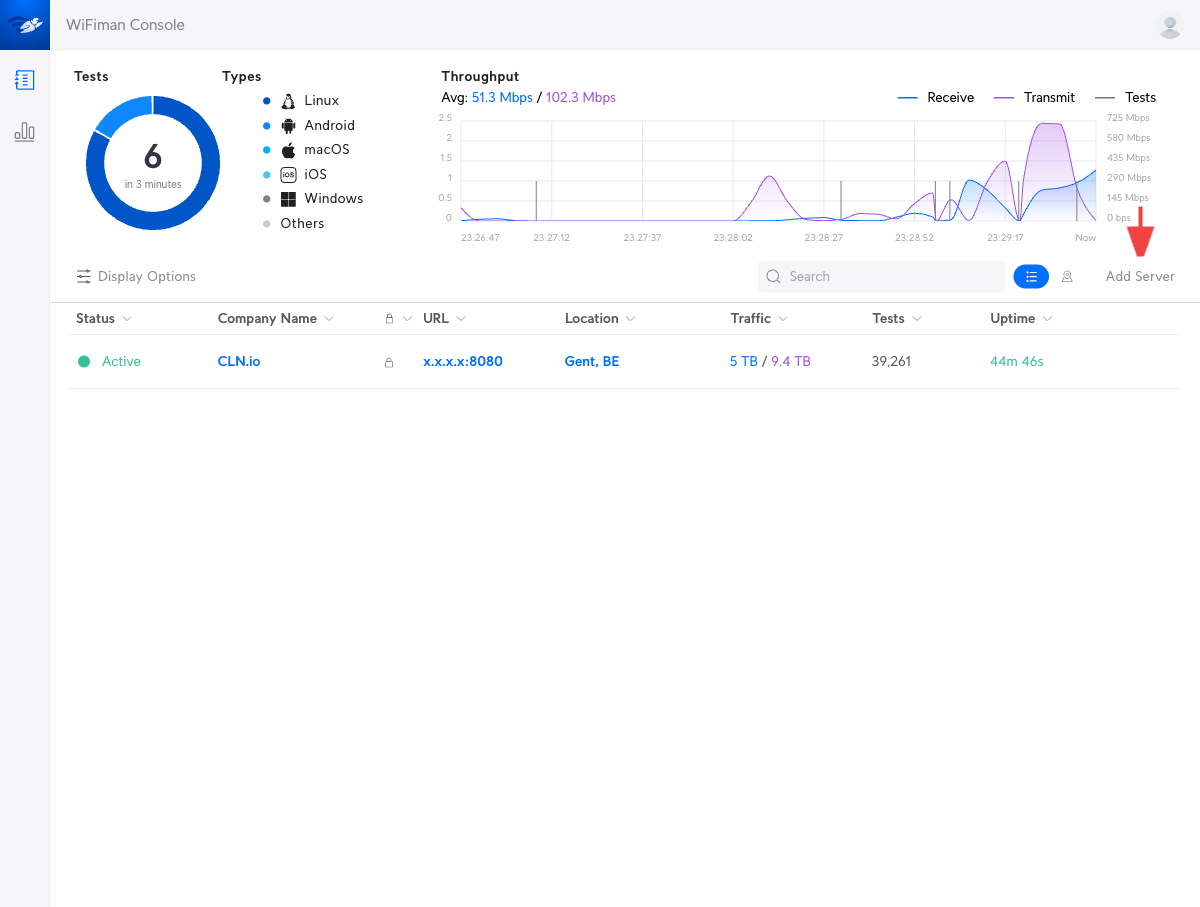
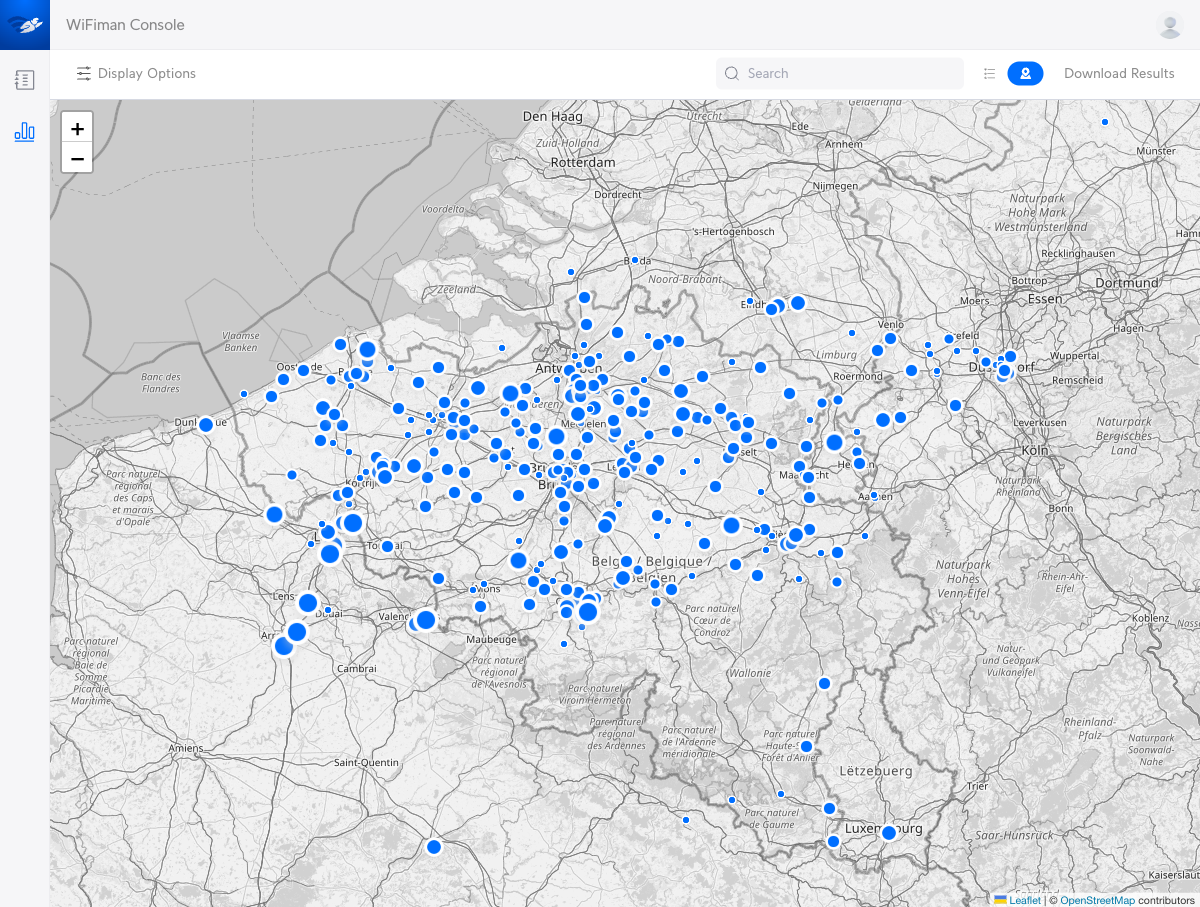
Monitoring Results
Once your server is live, you can monitor all speed test results from console.wifiman.com. The console shows each test with upload/download speeds, latency, client IP, and origin (Mobile, Web, Firmware, etc.). You can also switch to a map view to see where your users are testing from:
Approval Process
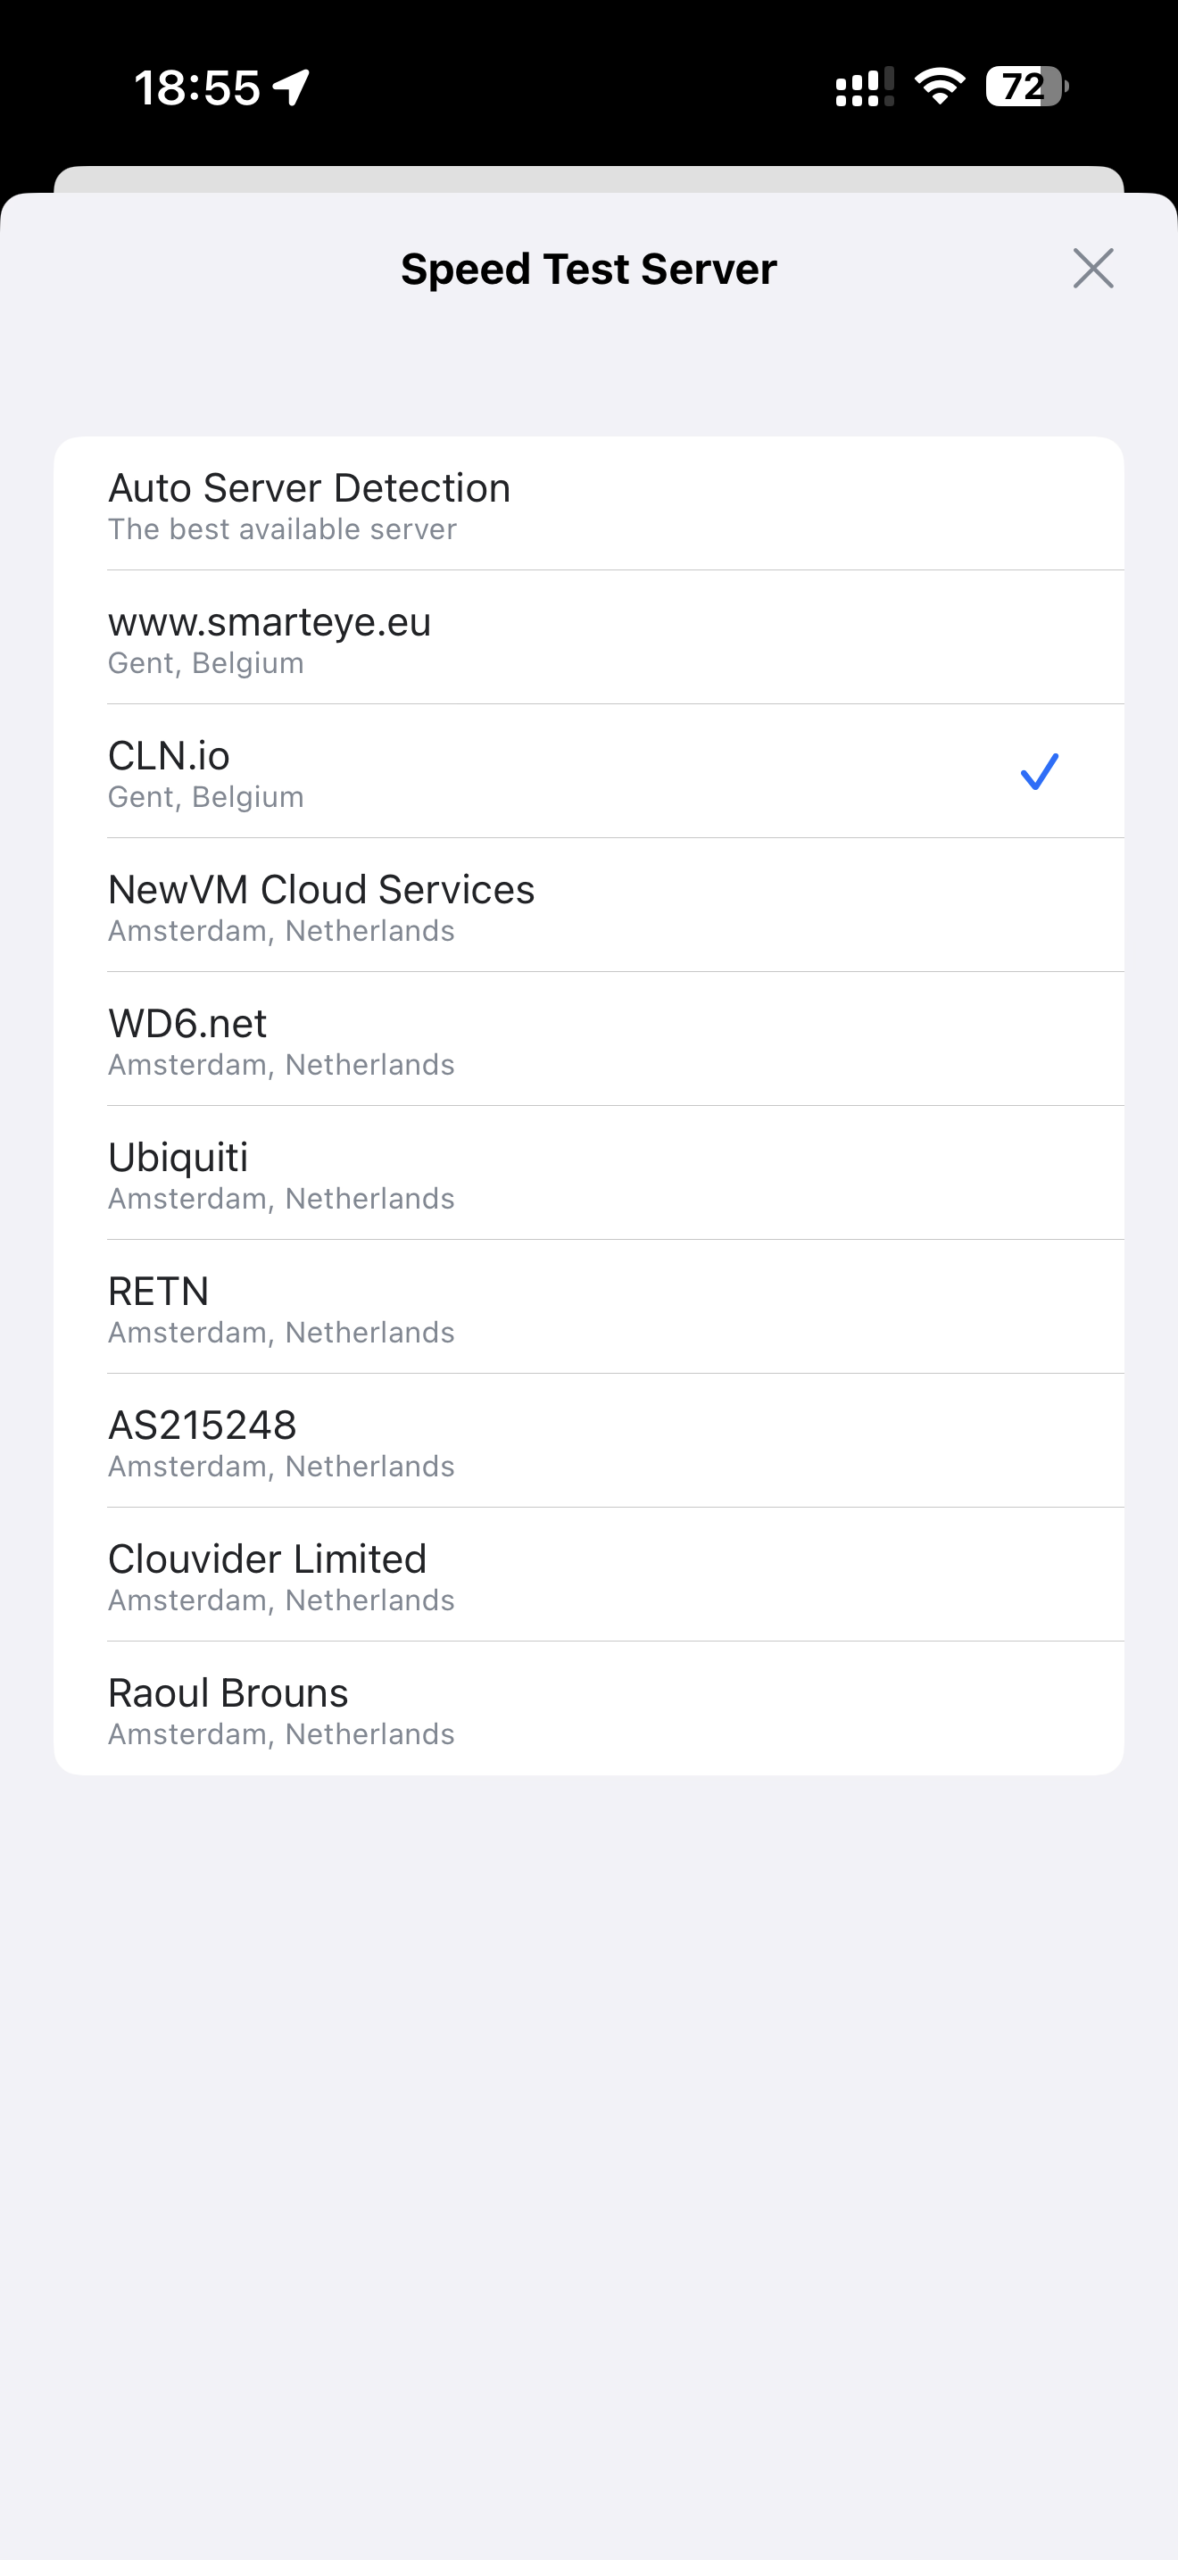
After your server is running and connected, it won’t immediately appear in the WiFiMan app or web speed test. There’s an approval process on Ubiquiti’s side before your server gets listed publicly. This can take a few days.
Once approved, your server will show up in the speed test server list for nearby users. Here’s what it looks like in the WiFiMan iOS app:
Summary
The complete setup involves:
- Get an installation token from console.wifiman.com
- Register your server’s static public IP to get an API key
- Create a
compose.yamlwith the speedtest container (host networking, port 8080) and watchtower - Deploy it via Container Manager UI or
docker compose up -d - Set up port forwarding on your router (external 8080 → Synology:8080)
The whole thing runs headlessly on the Synology. Watchtower keeps the speedtest image updated automatically. No manual intervention needed.
This post was written with the help of Claude (Opus 4), Anthropic’s AI assistant.