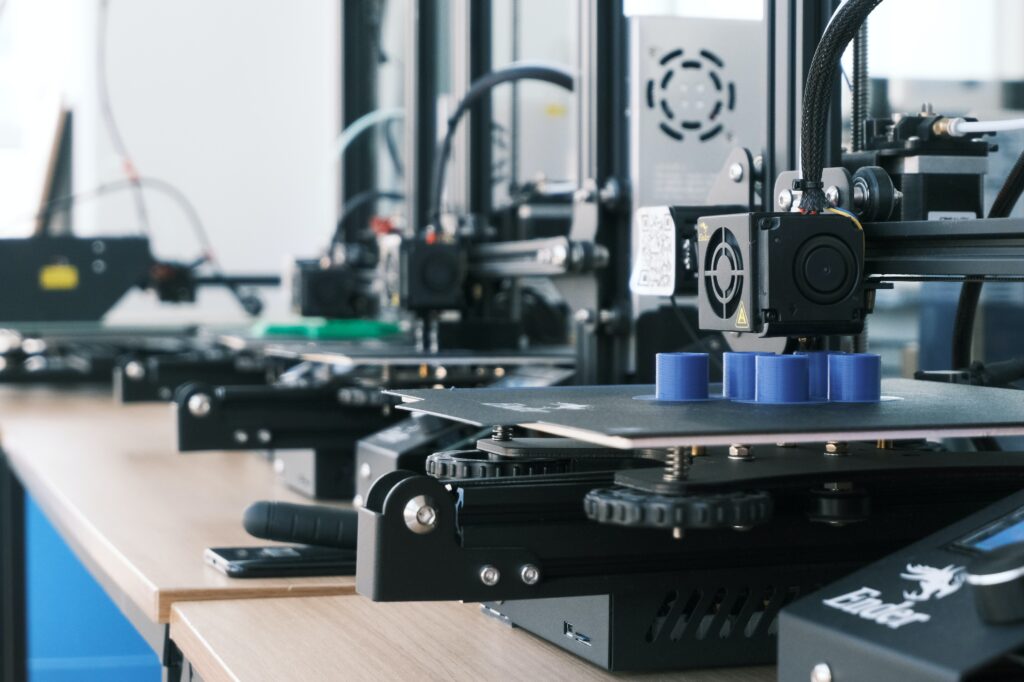
Adding a ADXL345 accelerometer to a Creality 3 S1 (Pro)
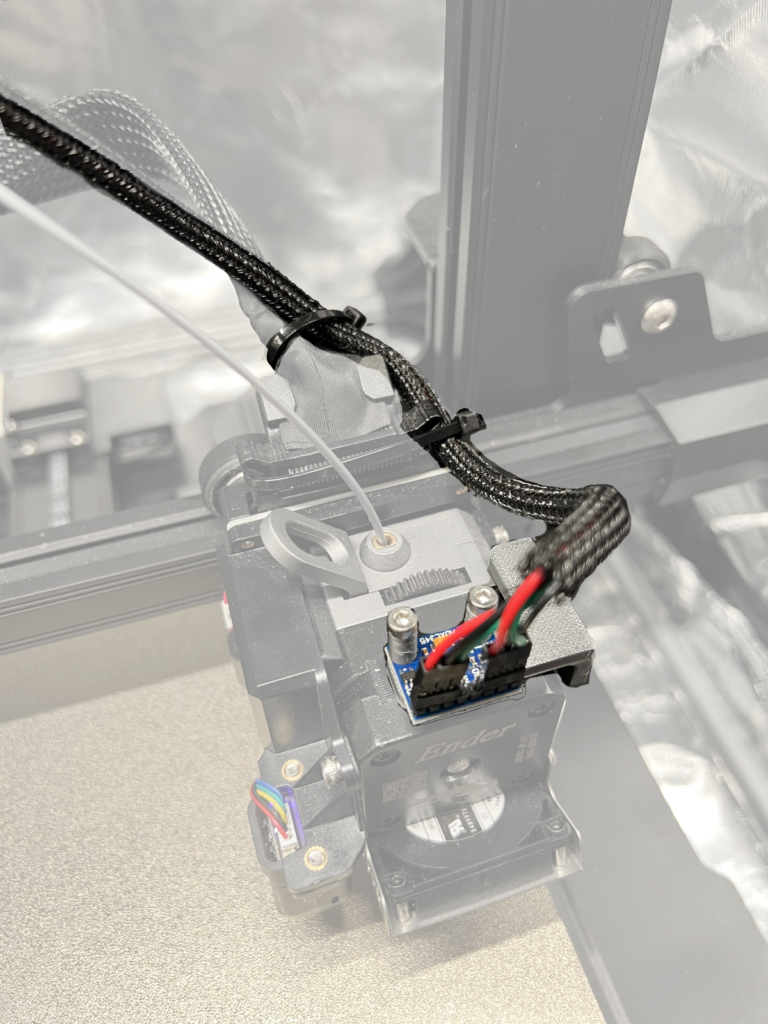
as an alternative to the creality sonic pad
Klipper has built-in support for ADXL345 accelerometer, which can be used to measure resonance frequencies of the printer for different axes, and auto-tune input shapers to compensate for resonances. Note that using ADXL345 requires some soldering and crimping. ADXL345 can be connected to a Raspberry Pi directly, or to an SPI interface of an MCU board (it needs to be reasonably fast).
https://www.klipper3d.org/Measuring_Resonances.html
Here is my guide on how to add an accelerometer to a 3D printer ( in my case a Creality 3 S1 Pro)
There are probably better ways to do this, do let me know where I can improve!
On this page
Required hardware
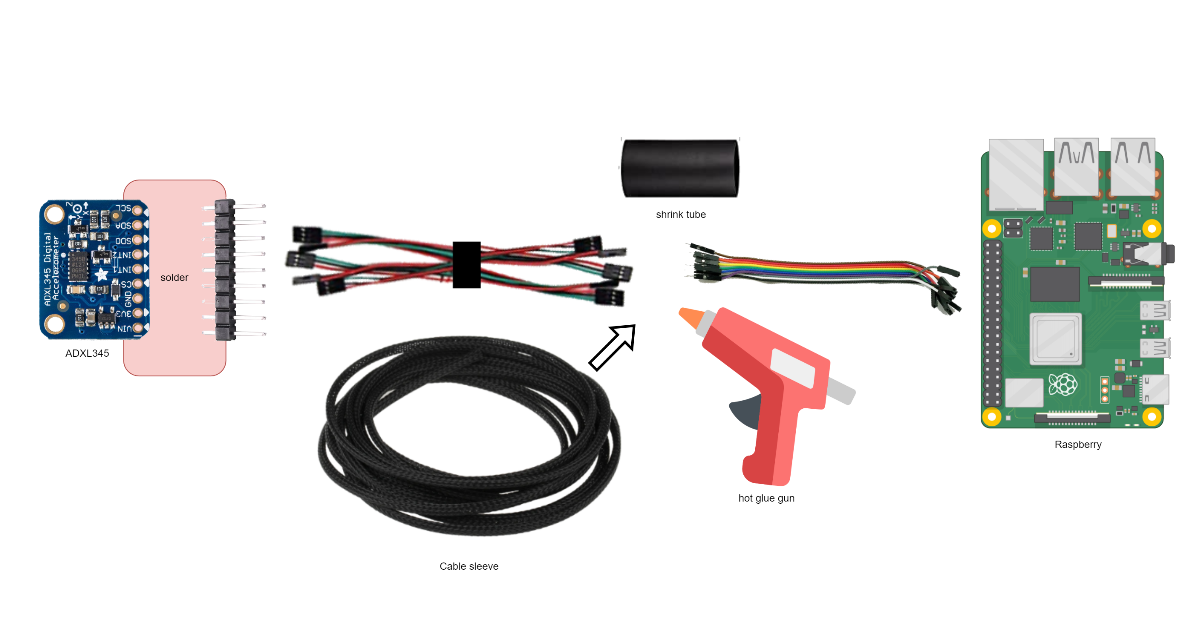
These are the tools I used for this project
- Soldering iron ( Ersa 0G070KN )
- Solder
- A working 3D printer
- Hot glue gun ( got a generic one on amazon )
- Heat gun ( Mowis Heat Gun )
- Heat Shrink Tubing ( Eventronic ET1001 )
- Set of M2, M3, M4, M5 screws ( Vigrue screw set )
- Zip ties
Hardware to acquire
A list of things I purchased for this project (aff)
- The ADXL345 ADXL345 Module, Accelerometer, 3-Axis Accelerometer, I2C, SPI, G-sensor for Arduino, Raspberry Pi, etc.
- 30 m Dupont wire (to run from the sensor to the Pi) Dollatek 10 parts/Los 70 cm 3 Pin Female to Female Jumper Wire Dupont Cable for 3D Printer
- Cable sleeve for the 30cm dupont wire Alex Tech self locking cable conduit woven cable sheath cable protector cut to size black
- Jumper Wire Cable (female to male) AZDelivery Jumper Wire Cable 3 x 40 Pieces Each 20 cm M2M / F2M / F2F
Hardware steps to take
- 3D print a mount + possible spacers
- Solder the pin headers to the accelerometer
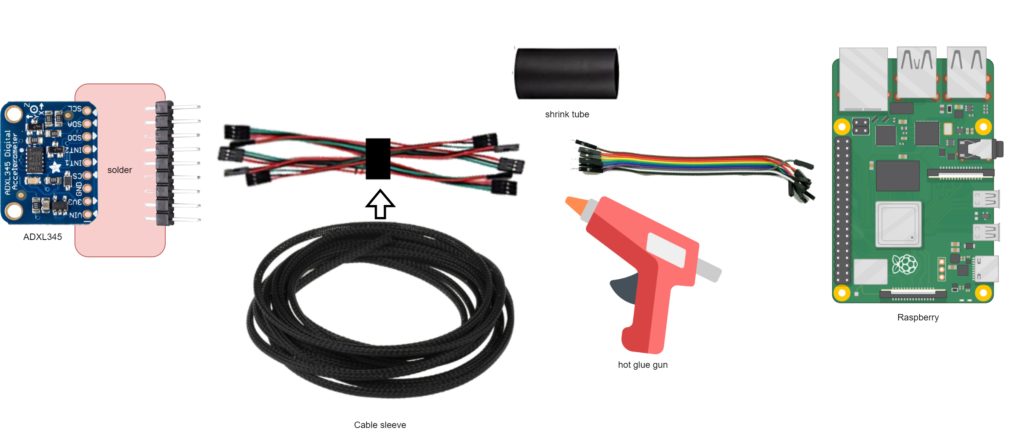
- Sleeve the 30cm dupont wire (with 6 cables inside)
- Connect jump wires in the Pi
- Hot glue the dupont wire connection between the Pi jump wires & the 30cm cable
- Add a shrink tube over the hot glued connection
- Connect the wires to the correct pins
Printing the mount
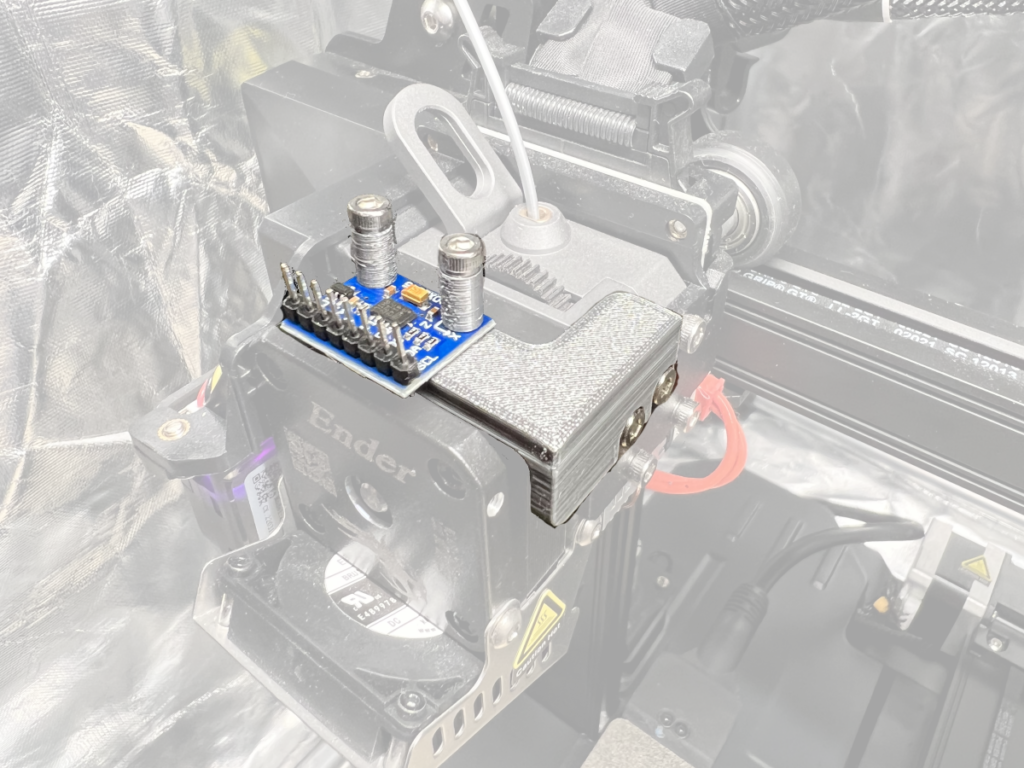
For my Ender 3 S1, I found this mount to be very useful
https://cults3d.com/en/3d-model/tool/adxl345-accelerometer-mount-for-ender-3-s1-x-axis
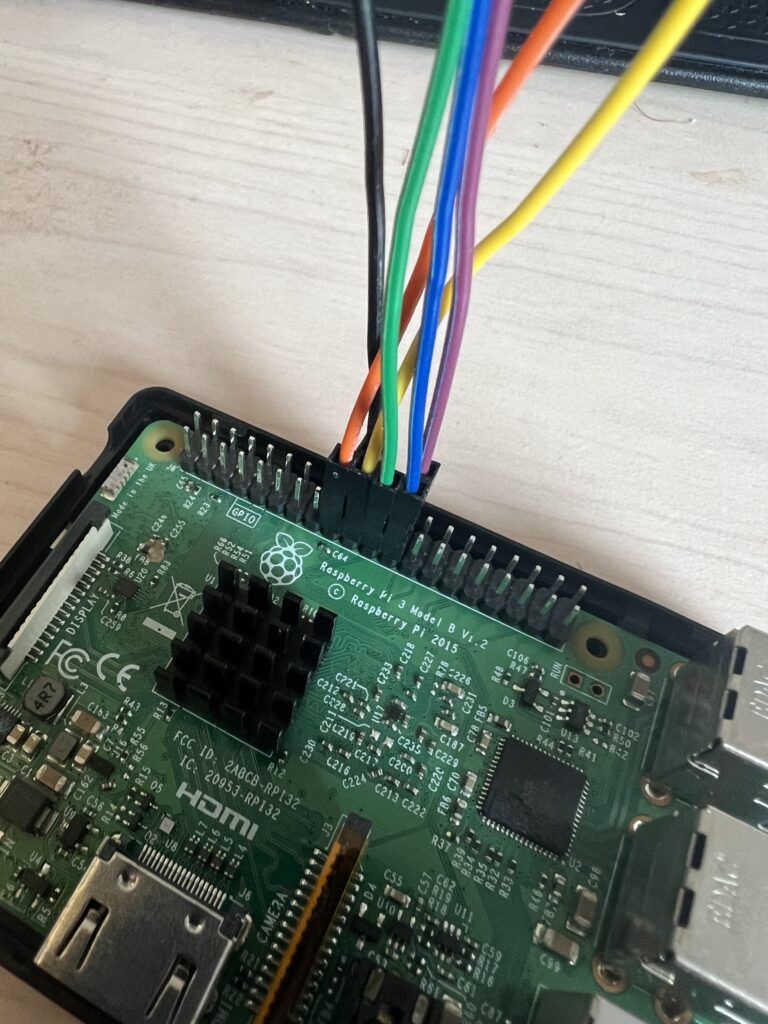
connected the required cables on the Pi according to the Klipper guide
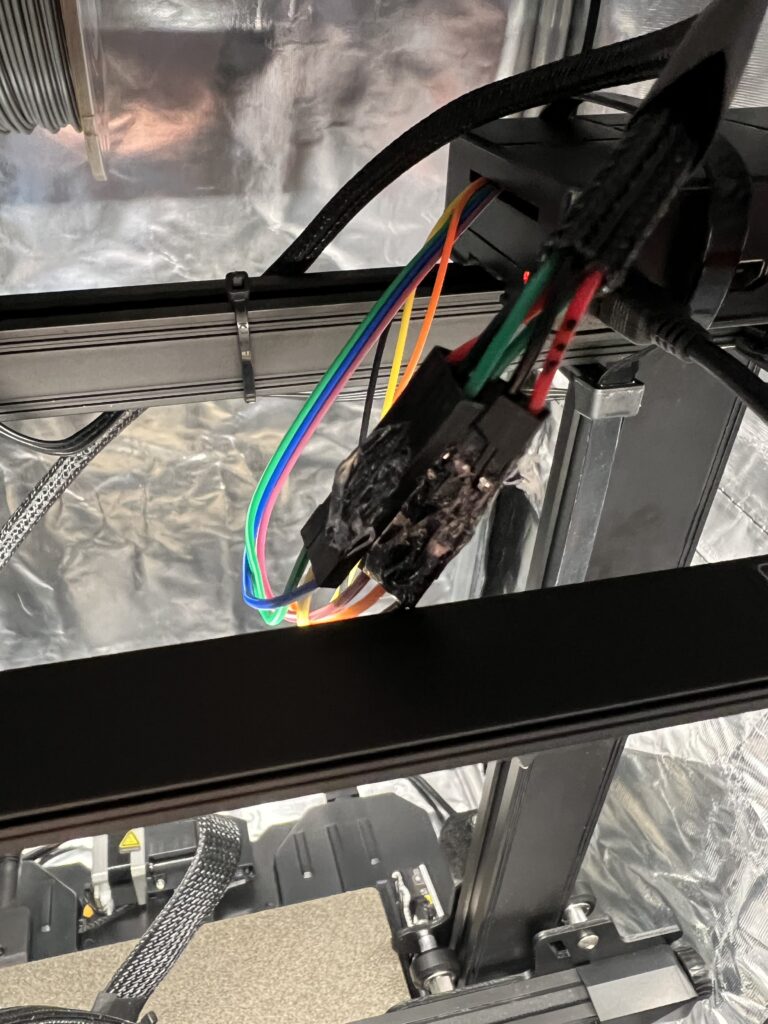
connected them to the 30cm sleeved cables and added some hot glue magic 🙈
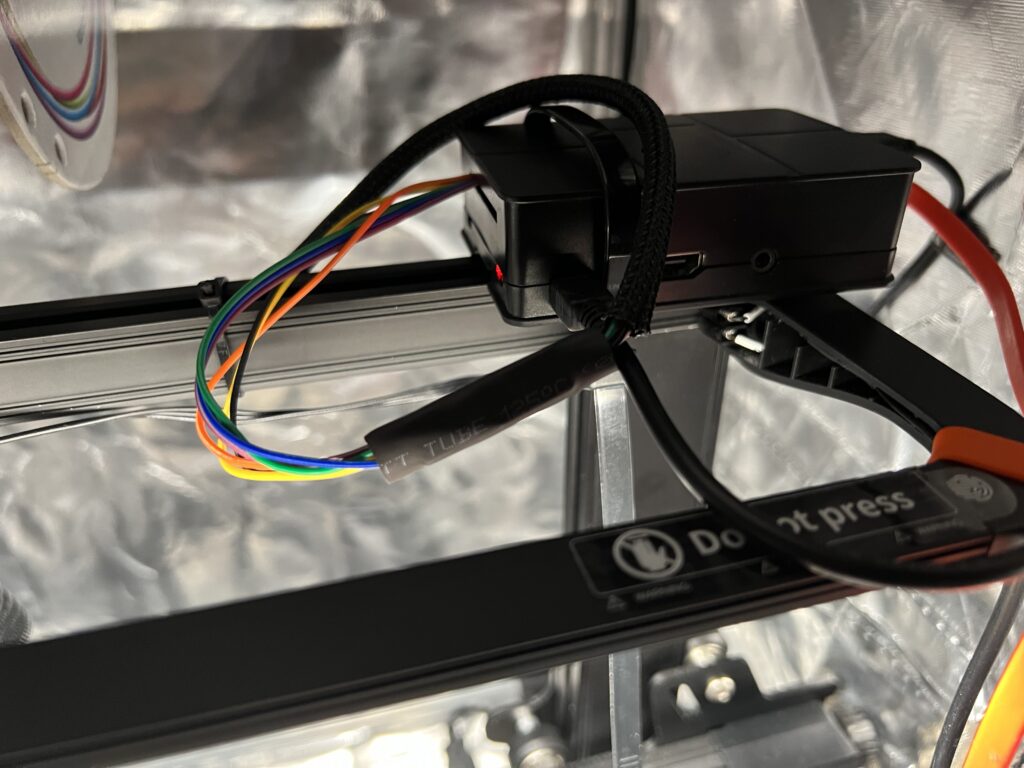
Added a shrink wrap to hide my terrible hot glue job + extra “so it doesn’t come loose”
Setting up the Pi for the sensor
cd ~/klipper/
make menuconfig
<In the menu, set "Microcontroller Architecture" to "Linux process," then save and exit.>
sudo service klipper stop
make flash
sudo service klipper start


make sure to set up SPI driver and the I2C driver
Make sure the Linux SPI driver is enabled by running
https://www.klipper3d.org/RPi_microcontroller.html#optional-enabling-spisudo raspi-configand enabling SPI under the “Interfacing options” menu.
Make sure the Linux I2C driver is enabled by running
https://www.klipper3d.org/RPi_microcontroller.html#optional-enabling-i2csudo raspi-configand enabling I2C under the “Interfacing options” menu. If planning to use I2C for the MPU accelerometer, it is also required to set the baud rate to 400000 by: adding/uncommentingdtparam=i2c_arm=on,i2c_arm_baudrate=400000in/boot/config.txt(or/boot/firmware/config.txtin some distros).


Calibrating the printer with the probe
[followed this guide] Before we can use the sensor we need to add our sensor to the printer.cfg in MainSail
[mcu rpi]
serial: /tmp/klipper_host_mcu

[adxl345]
cs_pin: rpi:None

[resonance_tester]
accel_chip: adxl345
probe_points:
    117.5,117.5,10
Let Klipper do its magic send a SHAPER_CALIBRATE command, let it do its thing and if all looks good send a SAVE_CONFIG afterwards.

Whilst I just provide the commands for completion of this guide, I strongly advise to head over to Klippers excellent documentation on Input Shaper Auto Calibration
